
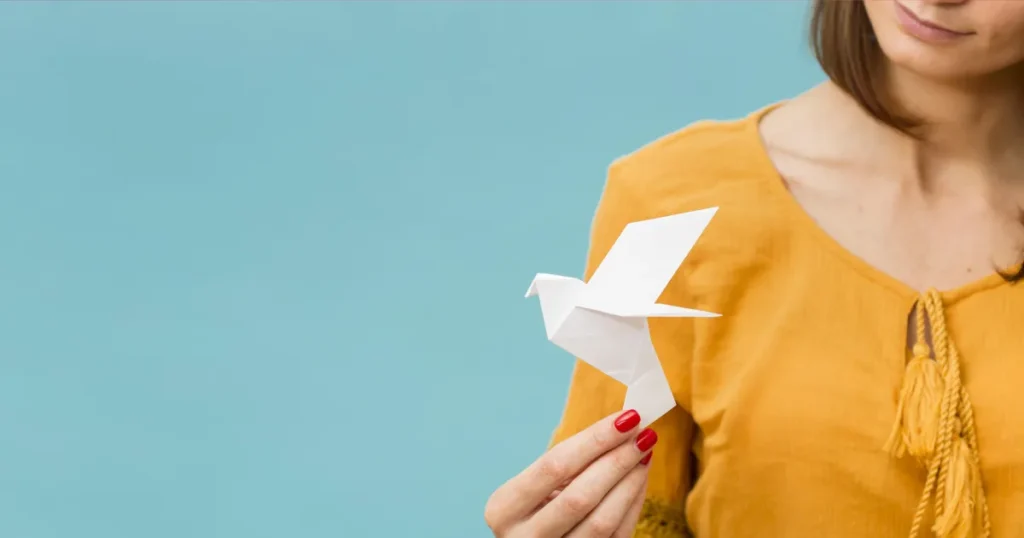
Introduction: The Wonderful World of Decorative Origami Bird
In today’s screen-dominated world, finding engaging, hands-on activities for children can be challenging. Decorative origami birds offer the perfect solution – combining art, precision, and creativity into one delightful project. This beginner-friendly craft not only produces a charming result but also cultivates patience, fine motor skills, and spatial reasoning in young minds. Follow our comprehensive guide to help your child create a beautiful origami bird that will have them beaming with pride.
Why Decorative Origami Birds Are Perfect for Children
Origami, the ancient Japanese art of paper folding, provides numerous developmental benefits for children of all ages. When creating decorative origami birds specifically:
- Children develop hand-eye coordination through precise folding
- The activity encourages focus and concentration
- Kids experience the satisfaction of transforming a simple piece of paper into art
- The finished decorative-origami bird can become a treasured keepsake
- The craft builds confidence through accomplishment
Let’s begin our journey into crafting these delightful decorative paper creatures!
Materials Needed for Your Decorative Origami Bird
Before diving into the folding process, gather these simple materials:
- Square paper (origami paper or any patterned paper cut into a square)
- A flat, clean workspace
- Patient hands and an eager mind!
Pro Tip: For beginners, choose paper with patterns on one side only. Patterned paper with fruits, flowers, or geometric designs creates especially beautiful decorative-origami birds.
Step-by-Step Instructions: Creating Your Decorative Origami Bird
Step 1: Square Positioning
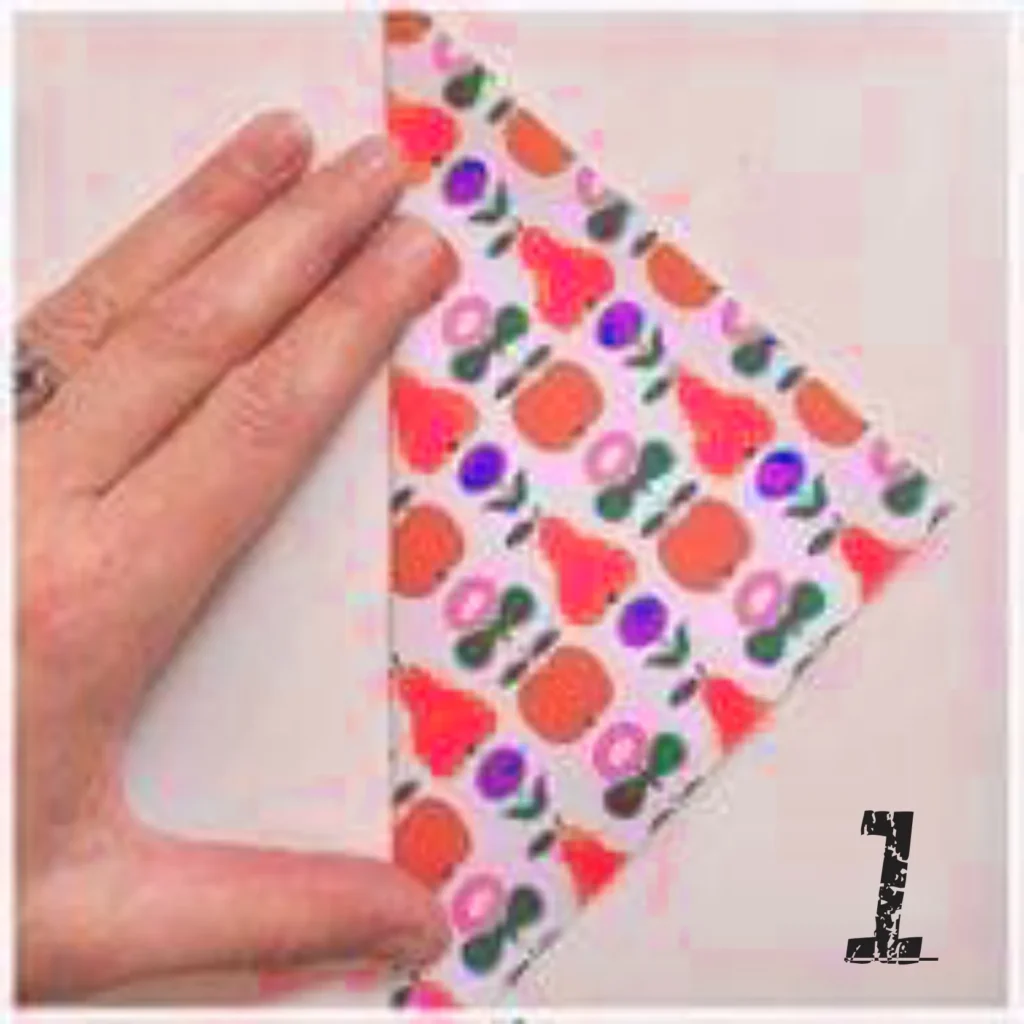
Begin with a square piece of patterned paper, showcasing a vibrant design with fruits and flowers. Position the paper pattern-side up on your workspace. The orientation of your paper matters, as it will determine how the pattern appears on your finished decorative origami bird.
For young children, consider starting with larger squares (6-8 inches) to make handling easier. As they gain confidence in their decorative origami bird-making skills, you can transition to standard 6-inch origami paper.
Step 2: First Triangular Fold
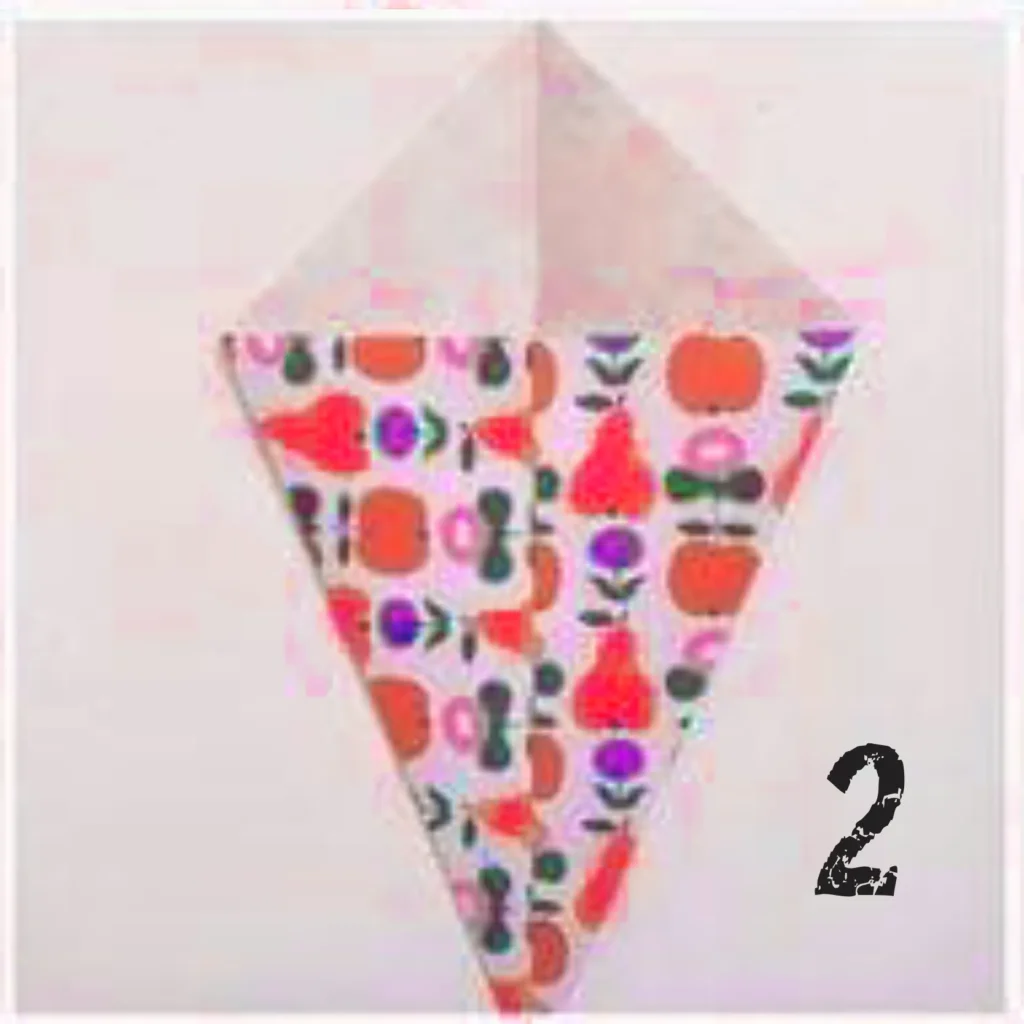
Fold the square diagonally, creating a precise triangular shape. This foundational fold sets the stage for your entire decorative-origami bird, so take care to align the corners perfectly. Have your child run their finger along the fold to create a crisp crease – this strengthens the paper’s memory and results in a more defined decorative origami bird.
Teaching Moment: Explain how this diagonal fold creates symmetry – a concept found throughout nature, including in real birds!
Step 3: Central Alignment
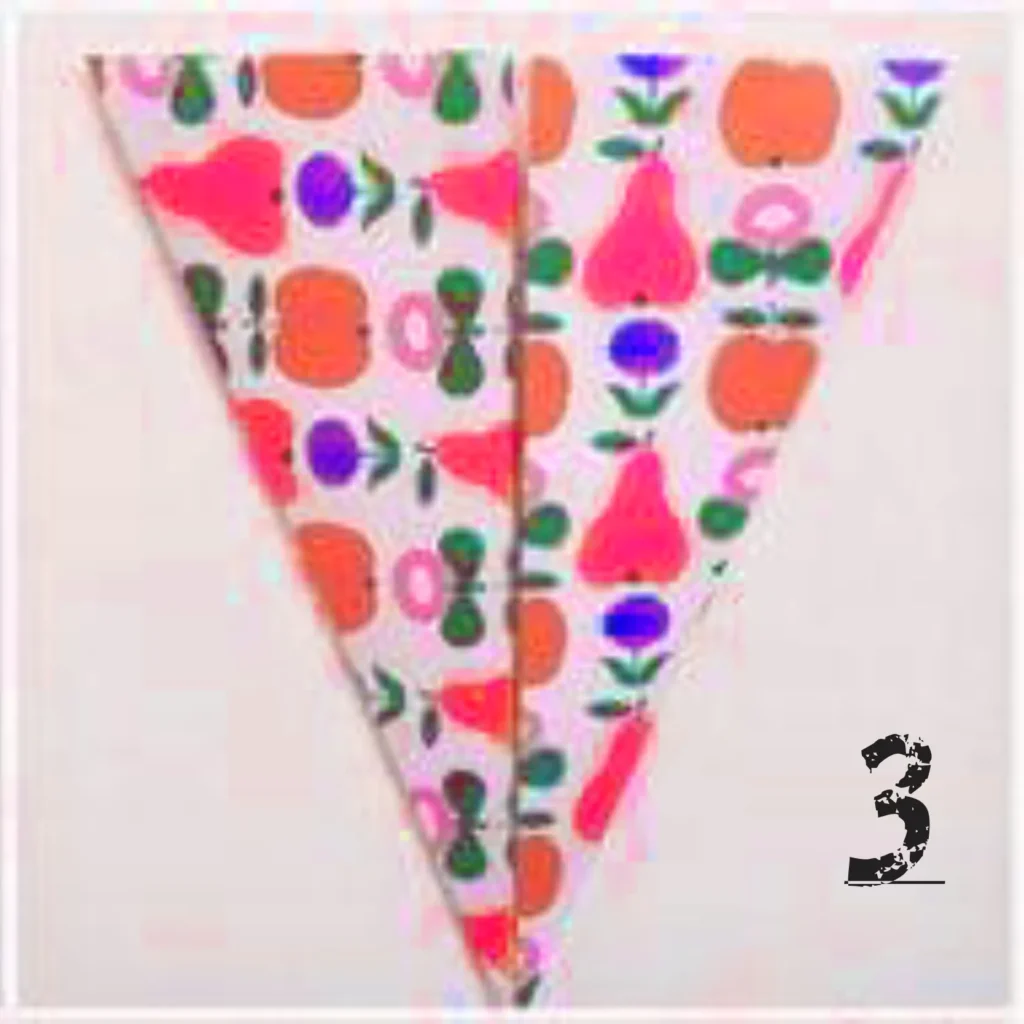
Ensure the triangle is perfectly centered and symmetrical. This critical step in creating your decorative-origami bird requires attention to detail. The precision here will impact how balanced and proportional your finished decorative origami bird appears.
For younger children who might struggle with perfect alignment, provide gentle guidance by holding the paper at the corners and helping them match the edges precisely.
Step 4: Initial Wing Preparation

Start separating the layers to create the bird’s wings. This is where your flat triangle begins to transform into a three-dimensional decorative origami bird. Gently open the side layers while maintaining the central fold. Young crafters often find this step magical as their paper begins to take a recognizable form.
Encouraging Words: “Look how your decorative origami bird is starting to take shape! Those will become the wings that help your bird soar.”
Step 5: Wing Definition
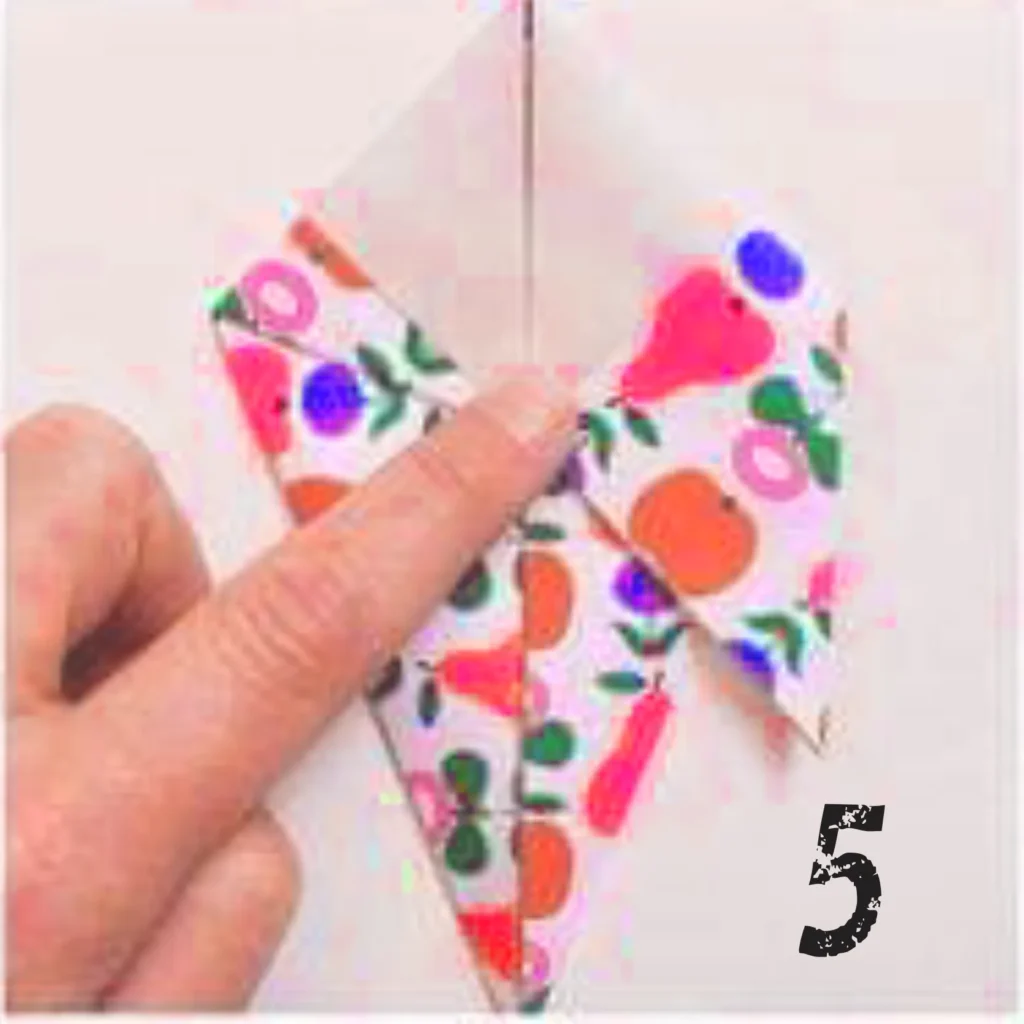
Carefully fold and shape the wings, creating distinct angles and forms. This step adds character to your decorative origami bird. The angled folds will give your creation a sense of movement and life.
For children who may find this step challenging, demonstrate the fold slowly on your own paper first, then guide their hands through the motion. Remember that practice makes perfect when crafting decorative origami birds!
Step 6: Wing Positioning
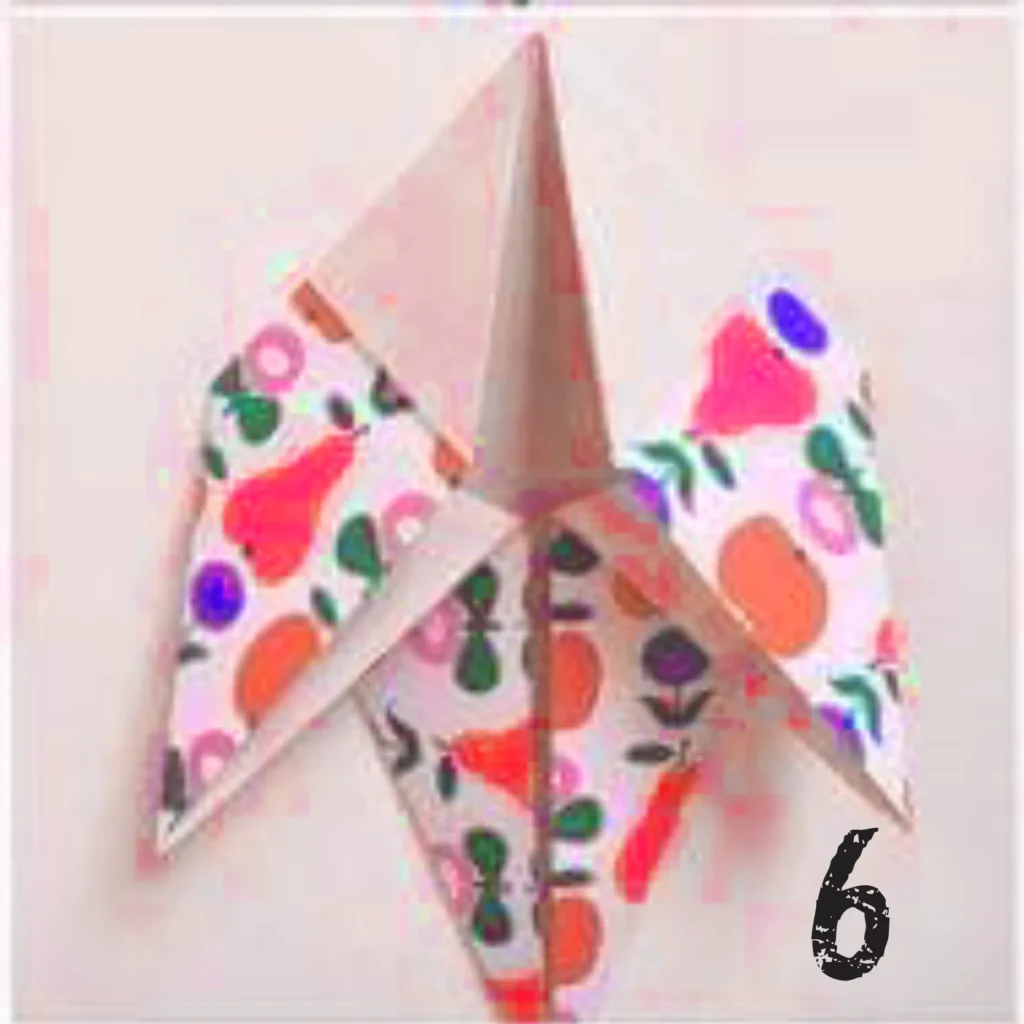
Adjust the wings to give the bird a more three-dimensional appearance. This transformative step brings your decorative origami bird to life, creating depth and dimension. Encourage your child to carefully pull the wings outward and position them at pleasing angles.
Creative Variation: Experiment with different wing positions to create decorative origami birds in various poses – flying, resting, or preparing to take off!
Step 7: Body Consolidation
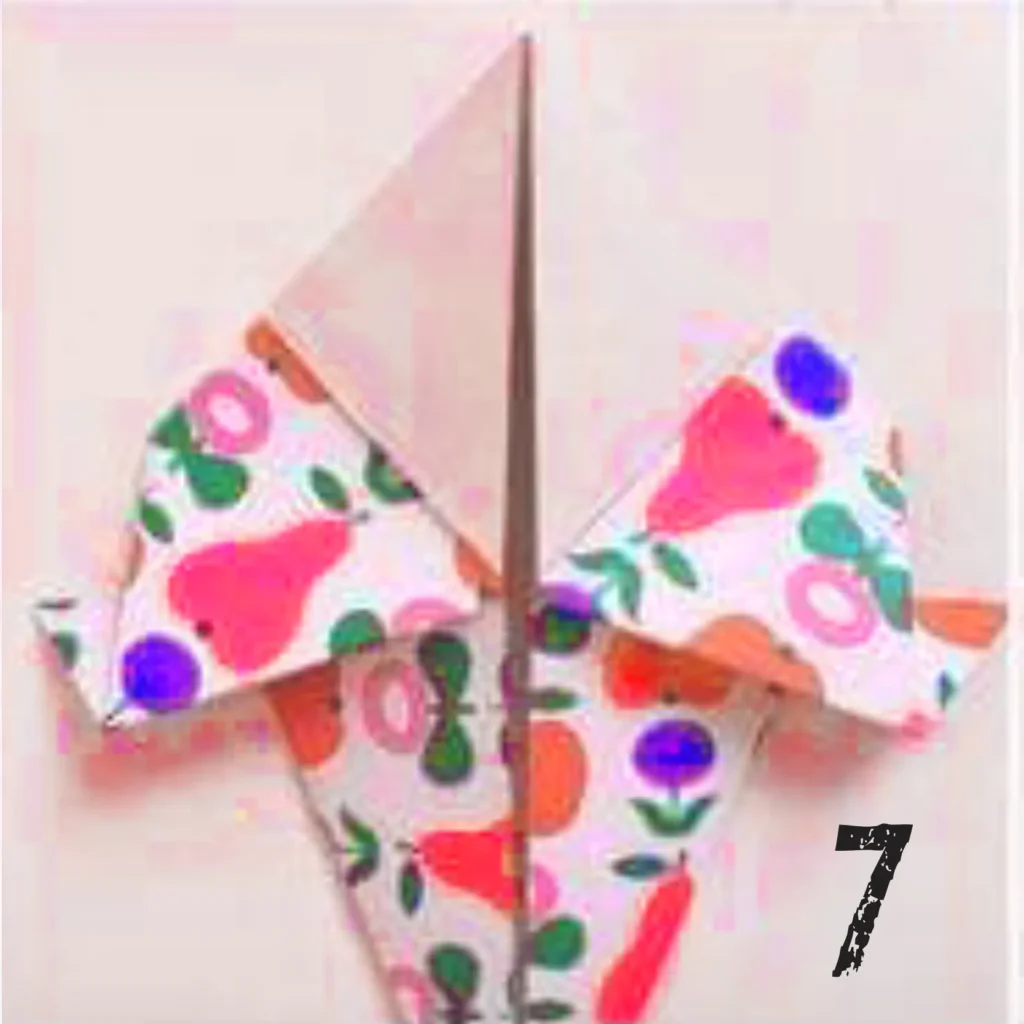
Begin folding the body to create a more defined bird shape. This step refines your decorative origami bird’s form, giving it structure and stability. The body fold requires a gentle touch to avoid tearing the paper while still creating firm creases.
Many children find this step satisfying as their decorative origami bird really begins to take shape. Point out how the pattern on the paper creates unique markings on their bird, just like patterns in nature.
Step 8: Wing Detailing

Make final adjustments to the wings, creating a more dynamic pose. These subtle refinements elevate your simple folded paper into an artistic decorative-origami bird. Encourage your child to be patient during this final detailing – small adjustments make a big difference.
Enhancement Idea: For older children, consider adding small pencil details to further personalize their decorative origami bird.
Step 9: Completed Bird
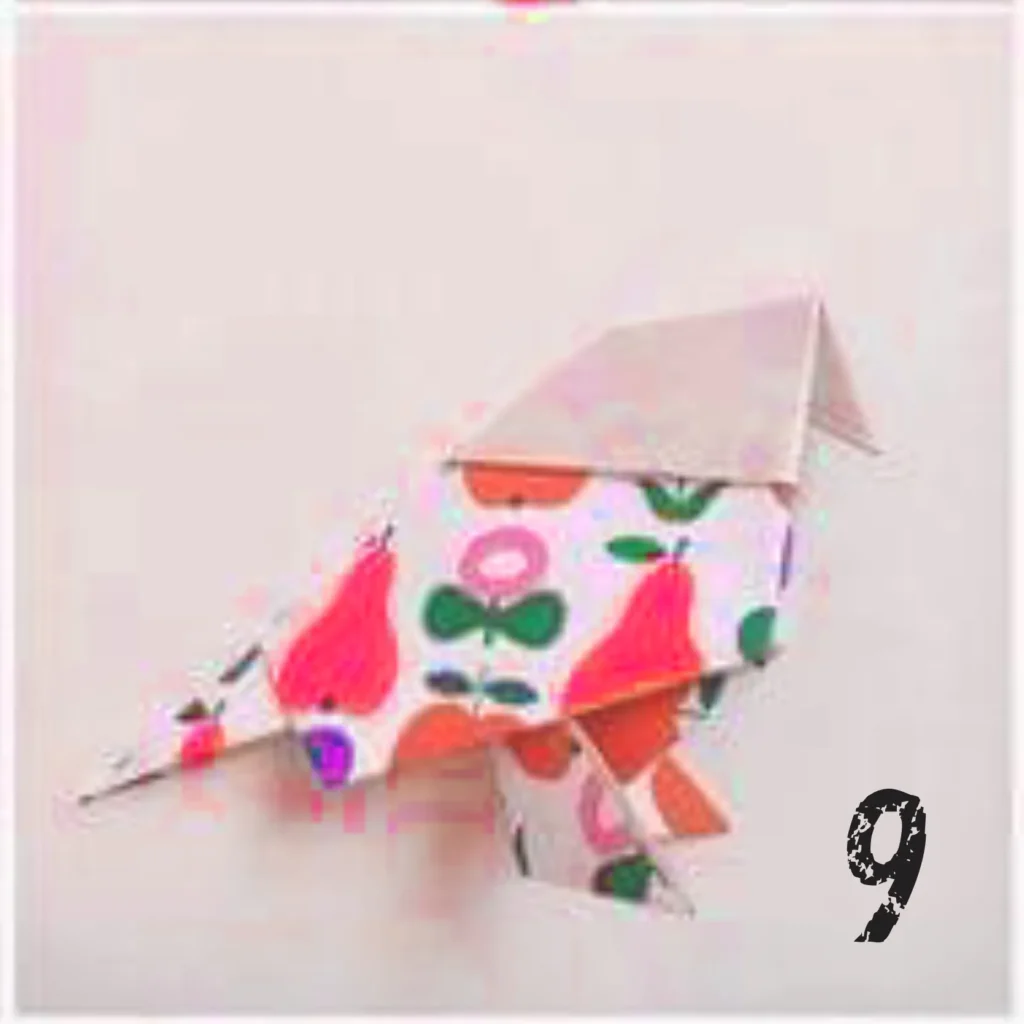
Reveal the final origami bird with its charming fruit and flower-patterned design. Take a moment to admire your child’s creation – a beautiful decorative origami bird made with their own hands! The vibrant patterns on the paper create a truly decorative origami bird that can be displayed proudly.
Display Ideas for Your Decorative Origami Birds
Now that you’ve mastered creating decorative origami birds, consider these display options:
- Hang multiple decorative origami birds from varying lengths of thread to create a mobile
- Attach them to greeting cards as three-dimensional decorations
- Create a family of decorative origami birds in different sizes
- Use them as unique gift toppers
- Arrange a flock on a branch for a nature-inspired decoration
Troubleshooting Tips for Perfect Decorative Origami Birds
Even experienced folders encounter challenges when creating decorative origami birds. Here are solutions to common issues:
- Uneven Wings: Gently unfold and realign your triangle before proceeding
- Paper Tearing: Use slightly heavier paper or fold with less pressure
- Difficulty Following Steps: Watch online tutorials together for visual guidance
- Maintaining Interest: Break the process into two sessions for younger children
Educational Extensions Beyond Decorative Origami Birds
Expand the learning potential of your decorative-origami bird project:
- Research different bird species and create origami versions with appropriate colors
- Learn about migration patterns of birds
- Discuss how real birds’ wings function compared to your paper creation
- Explore other origami animals to create a paper menagerie
Trusted Resources for Further Decorative Origami Exploration
- Origami USA – America’s premier origami education organization
- The Spruce Crafts – Detailed origami tutorials for all levels
- Origami Resource Center – Comprehensive origami instructions and history
- Easy Origami – Beginner-friendly origami projects
Conclusion: The Lasting Value of Decorative Origami Birds
Creating decorative-origami birds offers more than just a few minutes of entertainment. This accessible craft introduces children to an ancient art form while building valuable skills they’ll use throughout life. The focus required for each precise fold, the spatial reasoning developed through three-dimensional creation, and the pride of completing a beautiful decorative-origami bird all contribute to your child’s growth.
Next time you have a square of paper and a few spare moments, invite your child to join you in making these delightful decorative-origami birds. You’ll be creating not just paper art but also meaningful memories and valuable learning experiences.
Happy folding!
Do you have favorite origami projects you enjoy with your children? Share your decorative origami bird creations and stories in the comments below!